Showing posts with label Gifts. Show all posts

Saturday, June 4, 2016

Homemade Body Scrub (Oh, and I'm Back... Again...)

Hello again!  I deleted my last 'I'm back' post because (obviously) I wasn't really back.  I fully intended to be, but you know, life happened.  So... Much... Life...  So first, I will update.  I mostly blog for myself, my family, and my friends.  I hope I can help a few others out there too, but it is primarily for us.  This is basically a catalog of information through our crazy journey.  It all started when I had my own medical struggles and then my daughter had hers too.  Now, I see so many others going through similar struggles.  I hope I can help them too.  I thought about just making the blog completely private so it didn't matter when I updated.  However, I have had so many through my daughter's issues ask me to keep going, that I am going to keep it mostly available for others as well.  However, posts may be sporadic and mostly caught up during summer break.  I am on summer break right now.  My summer breaks aren't really breaks.  I spend a lot of time at professional development and meeting with my team to plan our curriculum for next year.  The rest of the time, I spend planning our year of food and health at home for my family.  If you remember, my daughter cannot have corn.  Corn is in everything.  And I mean EVERYTHING!  I have learned much more about all of that since I posted last so I will try to update on that as I go.  We have also learned more about the delays this has caused for my daughter as well as other possible special needs for her academically.  We are still working on those.  It is a work in progress, but so far, we have had very supportive networks and teachers working with us even though we've had a not so supportive history of doctors.  She fits all of the newer research for learning and food needs.  I am thankful for the teachers, therapists, and specialists who have been so supportive and helpful.  Also, since my last post, I have had surgery and my husband has had a few surgeries.  Crazy, I know.  I had to have a hysterectomy.  Apparently, things were much worse than were showing up in blood tests and ultrasounds but I was in so much pain.  We only did a partial so I still have PCOS to deal with.  It was basically choose the hormone problem I'm used to or the opposite hormone problem.  Ugh!  So I am still fighting with hormones and weight.  Luckily, I've just gone back and forth and not gained all of what I lost back.  I am still smaller than I was when I had L by almost 20 pounds.  Hopefully, now that all of that is done, I can get back on track and keep losing.  J has lost a ton of weight though.  Good for him...  (*insert eye roll here*)  So there is a bit of an update for now.  Here is a recipe that won big as Christmas gifts this year: 

Coconut Body Scrub

Ingredients: 
3/4 cup raw organic sugar
1/2 cup coconut oil
preferred essential oil (optional)

Directions:
There are a few ways you can do this.  On my lower legs and arms, I use the sugar as is.  If I make one for my face and upper legs though, I put the sugar in my Ninja (food processor or blender) to make it a finer grain.  This is a preference though.  First I went ahead and softened the coconut oil just a bit. 10-15 seconds in the microwave is plenty.  You don't want it all liquid.  Mix it with the sugar. I used my hands and a good spatula to do this.  Then, if you want, you can add a few drops of an essential oil.  You can leave it just coconut.  I like this sometimes during the summer because coconut oil on it's own provides some UV protection.  But lavender oil (for relaxation) or lime (to wake you up) is sometimes nice too!  I mix it up.  I love to play with my oils.  Easy peasy!  

I didn't get any pictures of this when I did it at Christmas.  Silly me!  I will try to remember next time.  When I fixed these up for gifts, I just put some in little red ramekins with ribbons around them.  

Tuesday, January 14, 2014

Homemade Lotion

Here is the recipe for the lotion I promised after the lotion bars.  My mother in law loves this.  She has circulation problems in her legs and they itch and break out.  This lotion has helped it heal when nothing else has.  I never thought about that when I made it but I'm ecstatic that it helped her so much.  I hope it can help more people too.

Ingredients:
1/2 cup almond oil (if you need to be nut free you can use olive or grapeseed)
1/4 cup coconut oil
1/8 cup beeswax
1/2 tsp. vitamin E oil
30 drops essential oil (optional)

Directions:
Add all ingredients to a mason jar.  Add 1-2 inches of water in a sauce pan and put on medium heat.  Put the jar in the sauce pan and shake the ingredients periodically while melting.  When everything is melted and mixed, pour into containers.  I used some squeeze bottles for this lotion.  It seems to be thin enough to use in a pump but I have not tried it that way yet.  If you put it in a jar or container that can't be squeezed, you may need to stir it up after it cools.

I made this for Christmas presents.  I will update later when I know how everyone liked it.  I like it so far.  I've been using coconut oil on my hands and body for awhile but it is a pain to melt every time you need to use it.  This way I can put it in a container and it is ready to use.  It is a little greasy, but I've never found a lotion I thought wasn't greasy or oily.  I have had the best luck squeezing it out onto the back of my hand, then spreading it around so the majority of the oil is on the back of my hand.  If my palms and fingers feel to oily, I usually just grab a dry rag or towel (or if I'm out- a paper towel) and wipe off my palms.  I have really bad excema that flairs up worse in the winter.  My hands will crack and bleed.  And no lotion works.  In fact, most of them burn, break me out, or make the excema worse.  Even the prescription ointments I was given didn't work.  I also have patches on my arms and legs.  I'm lucky that I don't get them on my face like some people I know.  But if you or someone you know has trouble with skin issues or allergies to topical products, this may help them.

I did not come up with this recipe myself, of course.  I did, however, edit the ones I found until it worked for me.  I had four different lotion recipes that I used to change things around until it came out the way I wanted.

I will add pictures next time I make this.  I focused on pictures of the lotion bars and completely forgot about them by the time I did this lotion.

Coconut Lotion Bars

I was recently (finally) diagnosed with excema.  Although I've ALWAYS known I had it.  I'm allergic to every lotion out there.  My breakouts get worse in the winter of course and I get patches up my arms and around my thighs.  And the backs of my hands crack and bleed.  But lotion breaks me out and burns like my hands are on fire.  And they turn really, really, REALLY red.  And it is all getting worse with age.  So this year I decided to do something about it and make my own lotion.  I even shared the experience and made several bars for family at Christmas.  So far everyone has liked my lotions.  I made liquid lotion too and I'll post the instructions for that later.  This though, is for the bar.  I like it the best.  But the other lotion is better for using with the child.

Ingredients:
1/2 cup coconut oil
1/2 cup Shea butter (if you need to make this nut free, I believe you could substitute cocoa butter)
2/3 cup beeswax pastilles
1/2 tsp. vitamin E oil
20-30 drops essential oils (optional for scent)

Directions:
Combine ingredients in a quart size mason jar (with lid to prevent water from damaging lotion bar mixture).  Fill a sauce pan with about two inches of water and place over medium to medium-high heat.  Bring the water to a simmer and shake up the jar periodically while the contents melt.  When everything is liquid, pour into molds.  I had plastic soap-making molds.  You could use silicon molds, especially if you like them enough to make them more than once.  It is hard to pop these out of glass or metal molds/pans.  Let molds set overnight.  Carefully pop out of molds.  I wrapped them in cellophane to give as gifts at Christmas.  I also kept some for myself.  These are great to use after showers, shaving and washing dishes.

If these get a little to soft or start melting, you can harden it back up by sticking it in the fridge for awhile.  The cold temperatures will harden the coconut oil and Shea butter.


I did not come up with this recipe at all so I need to give credit.  I, of course, found it on pinterest.  You can find the original post where I got the recipe HERE.

Snowman Ornaments

These ornaments were so so easy.  And I had all of the supplies around the house.  If you don't have all of the supplies, they are cheap at your local craft store.

Supplies:
Hot glue
Orange pipe cleaners
Small black beads
Wax paper
Twine

Instructions:
Pour hot glue in spots on the wax paper with the twine looped underneath.  The twine is to hold the ornaments on the tree.  While it's still hot, trim small pieces of orange pipe cleaner for the carrot noses and carefully insert the small beads for eyes and mouth.  Let dry and carefully pull from the paper.  I added the ornaments to gifts for decoration.  Then they could be hung on the tree.


Note:  Again, this was not my idea.  Pinterest is a wonderful place.  You can find the original blog (or at least the blog I used) HERE.

Hex Nut Necklace/Bracelet

I made these for the boys in the family.  A necklace for my nephew and husband, a bracelet for myself and a key chain for my sister's boyfriend of many years.  My nephew loved it.  It's masculine enough for the boys and men.


Note:  This project was not my original idea.  As usual.  You can find the blog I used HERE.

DIY Washer Necklaces

These went over really well.  I made them for all of my nieces, my mom, my mother-in-law, my sister, my best friend and myself.  Most people put it on immediately.

Supplies:
Washers
Scrapbook paper
Mod podge
Trimming knife
Sponge brushes
Scissors
Glossy accents
Cord/string/chain
Beads

Instructions:
Trim scrapbook paper to fit on the washer.  Spread mod podge on the washer and smooth the scrapbook paper on the washer.  Trim any excess paper from the washer using the trimming knife.  Dab the glossy accents on the washer.  A little goes a long way.  Spread it in the middle because it will spread to the edges some on its own.  It takes a long time for this to dry.  It depends partly on the weather and partly on how much glossy accents you put on.  It took mine at least 24 hours to completely dry.  Once they are completely dry, you can turn them over and do the same thing to the other side.  After both sides are dry, wrap the cord around and string the bead.  You now have a washer necklace.  I tied them with adjustable knots so that no matter who wears them, they can adjust the length of the necklace.


Note:  I don't have any one blog/website to credit with this.  I did not come up with these but there are multiple sources across Pinterest and the blogosphere.

Hot Chocolate Mix

NOTE:  I don't think this is corn free as is.  I may look for a different recipe this winter.

This stuff is better than Swiss Miss ever thought of being!  I made this recipe and it made four pint jars.  I gave some away for Christmas gifts.  Bonus points...  No crazy ingredients!

Ingredients:
3 cups nonfat dry milk powder
2 cups powdered sugar
1½ cups cocoa powder
1½ cups white chocolate chips
¼ tsp. salt

Directions:  Whisk together all ingredients and put through the food processor in batches.  I used my smaller processor and it took three batches to get it all processed.  It will depend on the size and capabilities of your food processor.  The dry mix can be stored in an airtight container for up to three months.

To make hot chocolate, pour 1/3 cup of the cocoa mix in one cup of hot milk or water.  Top with your preferred toppings.  I usually don't top it with anything and it's really good.

Note:  This is not my recipe.  I found it at melskitchencafe.


Fancy Clipboards

I know you guys have seen the clipboards all over Pinterest and other internet sites.  You know the ones I am talking about.   The clipboards that have the pretty paper mod podged on them to personalize them for gifts.  Well last year, I did that.  But I am just now getting them posted.  Yes, I am that far behind on my blogging.  Sad right?  Life is crazy.  Most of you understand...  Three year old... Husband... Job hunting... Substitute teaching... Crazy family members...  Health issues...  Money issues...  You know, LIFE!  So, I thought I would show a picture of my clipboards.  I made one for my sister and one for my mom.  My sister loves dogs.  She is wonderful with them too.  Seriously!  She's like the dog whisperer...  We are dog people but she is the best.  She rescues and fosters.  The dog she owns now, she nursed back to health after she had heart worms and basically had a death sentence.  She trained her and taught her tricks...  Great stuff.  My mom is a music teacher.  She plays the piano beautifully and has been teaching for over thirty years.  She's been one of my biggest helpers and supporters and my life saver with all of the struggles with our little girl's health issues.  Without her, I would have had a nervous/mental breakdown.

On with the project:

Supplies (for making 2):
2 Cheap clipboards
6 pieces of scrapbook paper
bottle of mod podge
sponge brushes

Note:  Make sure you are wearing a shirt or apron you don't mind messing up.  If you get mod podge on it, it isn't coming out.  I learned that the hard way.

Instructions:
Trim the scrapbook paper to fit around all of the fittings of the clipboard.  Spread mod podge (I found the sponge brushes best for this) on the back of the clipboards and carefully smooth the scrapbook paper down on the back.  After this is almost dry, spread mod podge over the top of the paper to create a bit of a gloss.  After the back is completely dry, turn the clipboards over.  Spread the mod podge over the front of the clipboards and smooth the trimmed scrapbook paper down on the front.  (For the front, I picked two different papers.  I put the same paper covering the whole thing as I put on the back.  But then I cut another piece with about a half inch or so around it so you see about a half inch or so border of the same design as on the back but a different design over the rest.  You can see an example in the pictures.)  When the first layer is almost dry, cover it with a layer of mod podge.  If you chose a second design or other designs, go ahead and add those designs on the wet mod podge now.  After those are almost dry, add another layer of mod podge over the top.  Let that dry completely.  More layers of mod podge are a personal preference.


This was my first attempt.  They didn't turn out exactly as I planned.  And the one I did for myself didn't turn out AT ALL!  But, they were cute and usable.  I have better ideas for some in the future.

Saturday, October 26, 2013

Pumpkin Spice Creamer

It has been awhile since I have been very active on my blog.  Life has been hectic.  Every week I think I will have time to blog but something comes up.  I started a long term substitute position in a library in August.  It has been so much fun and I get to stay until Christmas Break.  Hopefully it will help me to get a full time position in my own classroom.  At the same time I have been busy at home spending time with my three year old.  Yes, I said THREE.  I can't believe she is growing so fast.  Also, the husband finally got to start working first shift, so he is actually home with us.  We've been soaking up the family time.  I have still been cooking and experimenting but it will take me awhile to catch up here.  I will work on it but it may be during breaks that I have a surge in blog posts.  For now, I have also discovered why people like coffee!  I stopped drinking pop a few months ago.  So I never get any caffeine unless I get a tea or coffee.  At home, our tea is decaf and I never drink more than one coffee at a time.  But, since I get up at 4 AM now in order to get to work (it's quite a commute for me at this point), I have a little trouble getting myself going.  Especially now that the weather has gotten colder.

Anyway, I love the pumpkin spice lattes from Starbucks, but I hate the ingredients and price.  I found several recipes online to make your own pumpkin spice creamer.  I wasn't completely satisfied with any of them.  I already make my own plain sweet creamer and I have already posted the recipe for that.  I easily turned that into a pumpkin spice creamer.  Here is how:

Ingredients:
1 can evaporated milk
1 can sweetened condensed milk
1 cup pureed pumpkin (canned or fresh)
1/2 tsp. pumpkin pie spice

Directions:
In a saucepan, heat 1/2 the can of evaporated milk, pumpkin and pumpkin pie spice to a low simmer.  Whisk together until this comes to a simmer, then take it off of the heat.  Let this cool completely.  When it is cool, whisk in the rest of the evaporated milk and the sweetened condensed milk.  Pour into two mason jars.  This will stay good in the refrigerator for a week.  I put one in the fridge to use and one in the freezer to save.  You could also give one away for gifts OR you could keep one at home and one at work if you drink both places.  It is very good.  I believe I outdid Starbucks with this one.


Thursday, January 3, 2013

Ornament Wreath

Here is one of my many Christmas crafts. They are all over Pinterest and the blogosphere and now it is here too.  Part of keeping a blog is to just keep everything together in one place along with sharing it with others.  I like to share my experience if it could help others but I also like the fact that all of my projects and recipes are in one place for me to go find.  I know exactly how my blog is organized and how to find everything.

Materials (with cost):
wire clothes hanger (Free!  They come with my husbands clean uniform shirts.  We send most back because I hate wire hangers in the closet but I kept a few for projects.)
wire cutters (Free!  My husband is so handy.  He always has the tools I need in the garage.)
duct tape (I can't remember exact cost.  Approximately $2-$3 I used a red duct tape.  Did you know they have a million colors of this stuff now?)
tons of cheap Christmas ornament balls  (I used about 60 and it ended up smaller than I originally planned.  I bought them at the dollar store but by the time I realized I needed more, they were out of every color except gold.  Yuck!  So I made do with what I had.  Originally I spent $6 and had 6 tubes of 10-12 ornaments.  So all in all this is a cheap project.)
big festive bow ($2 at Walmart)
hot glue gun with extra sticks of glue (Free!  I already have a bunch in the drawer at home.)

Directions:
1. Cut off the hook of the wire hanger with the wire hangers.
2. Hot glue the tops on the top of the ornaments.  Trust me, do not skip this step.  I went through and if it was easy to pull the tops off, I hot glued.  But I thought the rest would be okay.  Boy was I wrong.  Every time someone opened the door, an ornament fell.  Most of them ended up hot glued after the fact and I still have 2 ornaments I found while cleaning up decorations.
3. Start stringing the ornaments on the wire hanger.  You will have to move them around to get it to look full. Pack the ornaments on there tight so they don't move and it all looks even.
4. Duct tape the ends of the hanger together to make it a wreath.
5. Attach the big pretty bow to hide the ends and the duct tape.

Voila!


I'm pretty sure I will try this again next year with more ornaments to make it bigger.  But I was pretty happy with how it looked hanging on my door.

Thursday, December 27, 2012

25 Books of Christmas

I saw this idea on Pinterest, of course.  It is called the 25 books of Christmas.  You wrap up 25 books and you open one with your kid(s) each night of December through Christmas Day.  I did this for my two year old.  I bought used books at a local used book store and found a pack of Christmas books through Scholastic for a great price.  (Although, not all of the books were Christmas books.  That is just a lot of Christmas.  I just looked for age appropriate.)  I spent $0.25-$1.00 on each book so it wasn't expensive and I won't feel too bad if my girl rips some pages.  (We are still working on how to treat books with paper pages instead of strong board pages.)

Good news...  This was tons of fun and my toddler has built up a great library.  Bad news... SO. MANY. BOOKS!  So, I will be modifying this for next year.  Next year we will just do 25 days of Christmas.  Some nights will be crafts, some nights will be making a Christmas treat and some nights will be books.  It's a perfect mix.


For those who are interested, I did keep a list of the books I gave L. Some days have more than one book because I ended up with a surplus going overboard on books with great prices.  I am also a bit of a book addict myself.

25 books of Christmas:
1. The Night Before Christmas by Clement Clarke Moore (I ended up with two copies of this so this is on the list twice. Both were illustrated by different illustrators so they were different to a two year old.)
2. Big Red Fire Engine by Rose Greydanus
3. Bible Stories (x3): Noah's Ark, Daniel and the Lion's Den, David and Goliath
4. Dinosaur Olympics
5. On Top of Spaghetti by Tom Glazer (L loved the books that were actually songs.  She loves to try to sing and loves to listen to others sing.)
6. Owlbert by Nicholas Harris
7. Puff the Magic Dragon by Pete Yarrow and Lenny Lipton
8. The Big Snowball by Wendy Chayette Lewison
9. Antarctica by Helen Cowcher
10. Baby Donald Makes a Snowfriend by Marilyn J. Sapienza
11. A Very Special Snowflake by Don Hoffman
12. Rudolph the Red-Nosed Reindeer by Barbara Shook Hazen
13. The Twelve Days of Christmas: A Christmas Carol
14. The Littlest Angel by Charles Tazewell
15. Baby Kermit's Christmas by Louise Gikow
16. Spot's Christmas by Eric Hill
17. Disney's Pooh: How to Catch a Heffalump
18. Disney's 101 Dalmations
19. One Mitten by Kristine O'Connell George & Corduroy's Christmas Surprise by Don Freeman
20. Snow Day by Joan Holub & I Love Christmas by Hans Wilhelm
21. The Twelve Cats of Christmas by Kevin Whitlark
22. Merry Christmas Grumpy Bunny by Justine Korman & Pocket's Christmas Wish by Ann Bonwill and Russell Julian
23. Clifford's Christmas by Norman Bridwell & Santa Duck and His Merry Helpers by David Milgram & A Silly Snowy Day by Michael Coleman
24. 'Twas the Night Before Christmas by Clement C. Moore (This one was wrapped up with her Christmas pajamas.)
25. Curious George Snowy Day by H.A. Rey & Merry Christmas Curious George by H.A. Rey

Sunday, June 17, 2012

Some of My Favorite Kitchen Products

Since I have started spending more time in the kitchen, I have found several products that save time and energy.  And some are just plain cool.  I'm sure more favorites will be discovered but this is what I have recently found or use regularly.

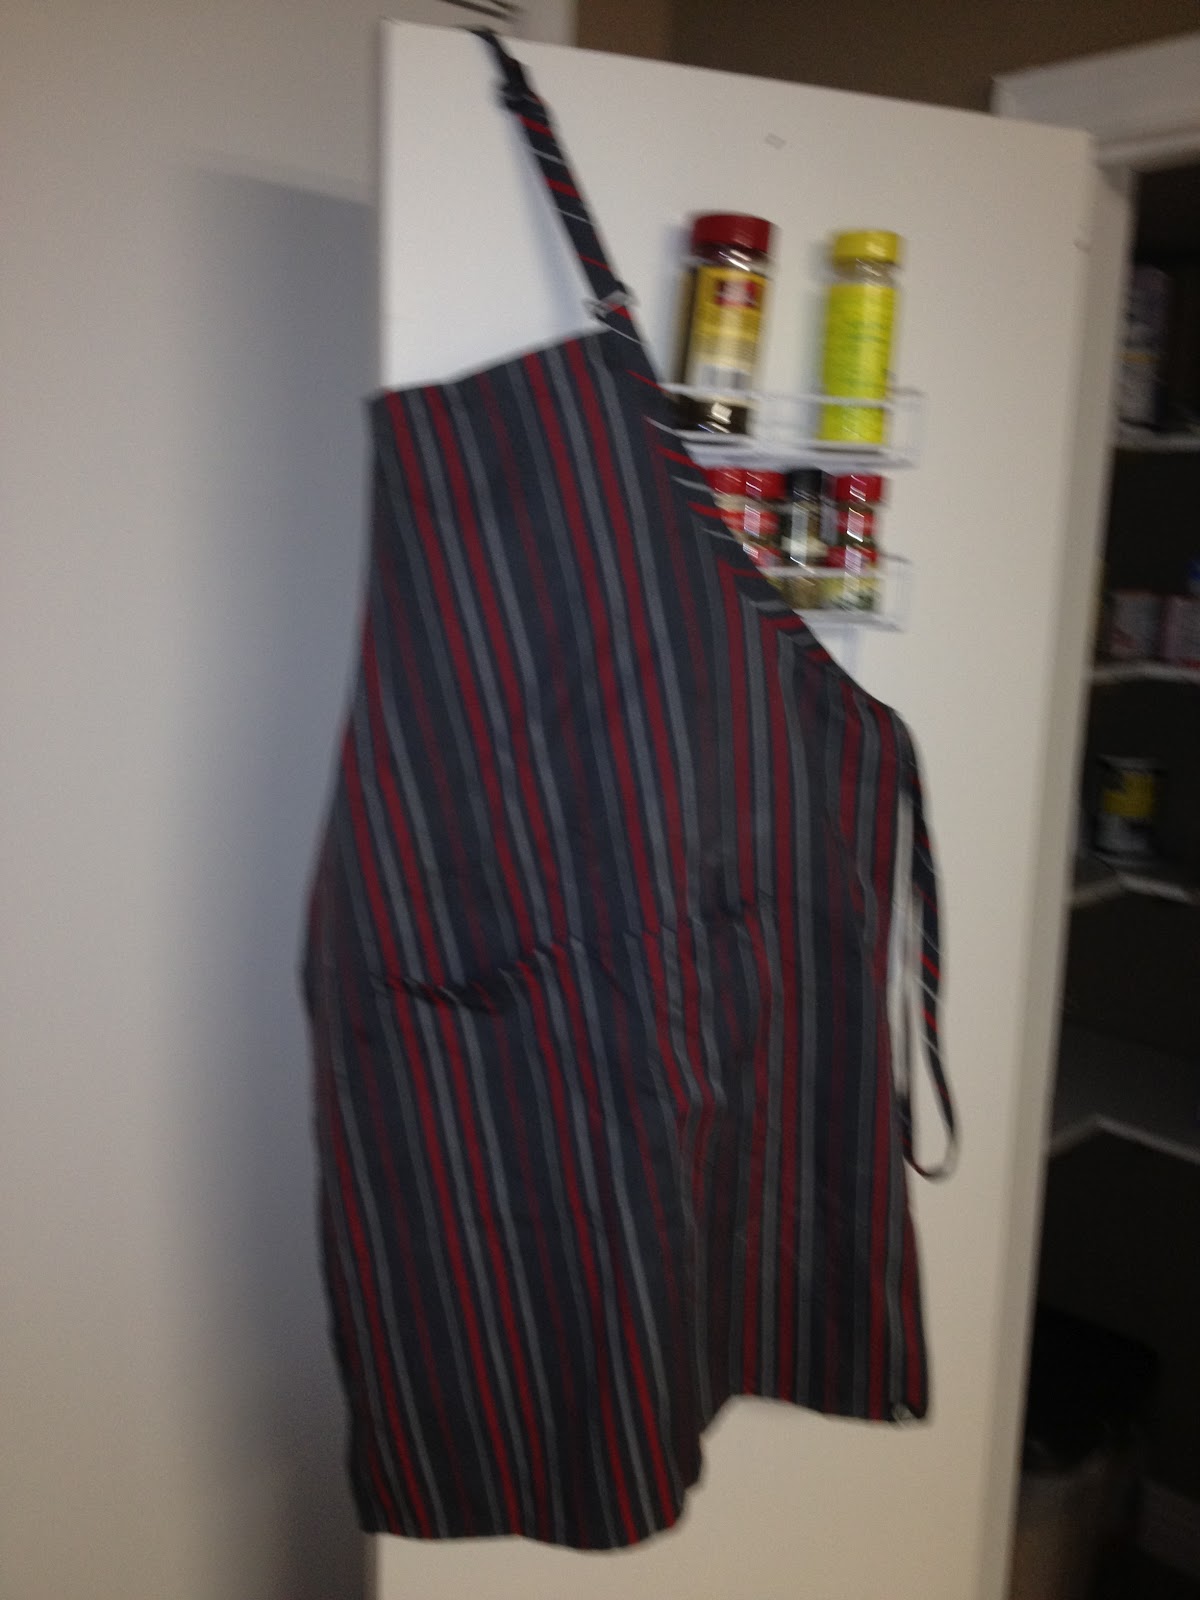
APRON!  This is saving my clothes.  I quickly learned that cooking ruins clothes.  You get splatter stains and little holes from rubbing up against the cabinets.  We have one spot in our counter top in front of the sink that is a seam where the formica was split.  I have a bunch of little bitty holes in some of my shirts and I finally discovered they are from leaning over the sink, washing dishes. This one also has pockets and an adjustable neck strap so it fits me and the husband.  I found this one on amazon for a way better price than anything in the stores around here.
 Digital Slow Cooker!  I can program this one to cook for a set number of hours then switch automatically to warm.  I've never had a slow cooker that would do that.  It has made life so much easier.  We found it on sale at Target.
 Food Saver!  I've started learning that cooking from scratch and working full time and being a mother and taking care of whatever other miscellaneous things need done, just doesn't always work out.  With this magnificent little invention, I can cook some meals ahead of time, seal them, and freeze them.  Now I have a quick and easy warm up meal for busy nights.  Or an easy, throw it in the slow cooker meal.  I've also used it to seal up marinades instead of worrying about my plastic bag breaking open and making a mess in the fridge.  Yes, that has happened to me more than once.  We also repackage our store bought meat with this in smaller, meal size portions.  The meat does not freezer burn in this like they do in plastic bags or plastic wrap.
 A good knife is essential to a cook.  I have three actually.  And I would love to have a few more.  For some meals I have to use all three. The green one pictured is from pampered chef.  It keeps a sharp edge for longer and is easy to sharpen yourself.  The other two are from A.G. Russel.  The one that isn't pictured here is just bigger.  Again, they hold the sharp edge longer and are easy to sharpen at home.  Note:  DO NOT PUT THESE IN THE DISHWASHER!  They won't last as long.  I always hand wash.
 Over the cabinet door basket!  I found these at Bed, Bath and Beyond.  I loved them so much, I bought three!  In one, I put my essential oils and homemade sprays.  In another, I put plastic bags, foil, plastic wrap, straws, etc.  And in the third, I put whatever doesn't fit in the others.  These allowed me to use wasted cabinet space behind the door and clear out two full kitchen drawers.

 Salt and Pepper Grinders!  I paid way more for these than I thought.  If I had known how expensive they were (they were on the wrong shelf and I didn't pay enough attention until I got home) I never would have bought them.  I'm so glad I didn't pay attention, because they are worth the money.  Fill them with peppercorns and salt and grind away.  These make it so much easier to spread evenly across food you are cooking and you can actually see how much you are dumping in.
 Slow Cooker Liners!  I hate scrubbing the slow cooker after food has cooked on the inside.  They are often hard to clean without scratching.  And since we use the slow cooker much more often now, this saves so much time and energy.  Just spread them across the bowl of the slow cooker, just like you were putting a trash bag in a trash can, dump in the food and cook.  When it is done, pull out the food to serve/store, pull out the bag and dump excess liquids down the drain and toss.  You still have to wipe out the slow cooker but no scrubbing.
 Toaster Oven!  We don't even have a regular oven where we are living right now.  We have a gas range and a toaster oven.  It is a larger toaster oven with convection bake but it still wasn't all that expensive.  You can't put the larger cookie sheets or pizza pans in it but everything else fits.  It has worked for us and I will most likely keep using it regularly even when we have an oven again.

Thursday, June 7, 2012

Homemade Baking Soda Air Fresheners

I have been working to find healthier options for air fresheners.  I hate spraying the chemicals from the spray cans around my family and I've always hated the smell.  I also recently read that new studies are showing that scented candles are possibly causing some breathing problems later in life.  And I cannot use soy candles due to hormone issues.  I've been told by multiple sources to minimize my exposure to soy.  So, the only good option for scented candles is expensive beeswax candles.  That's fine now and then but not all the time.  I like to have a great smelling home.  I am working on some sprays using essential oils so stay tuned for those.  But for now, this really works.  This could also be a cute gift.

Ingredients and materials:
small mason jar
¼ cup baking soda
1 tsp. of your favorite scent of essential oil
scrap of material big enough to cover the mouth of the jar
pen
scissors

Instructions:
Take the lid off of the jar and pull the middle out.  Trace around the lid (the part that comes out).  Discard that part of the lid because you won't need it.  I saved mine in a drawer in case I want it later.  Cut about a half inch outside the circle you traced. Pour the baking soda and essential oil into the jar. Stir together.  Put the material over the top and pull as tight as you can and screw on the lid.  I used eucalyptus oil and it smells great.  I've gotten tons of compliments.  I put this one in the bathroom but I will be making more for the kitchen and living area.  When the scent starts to fade, just give the jar a little shake.  I don't know how long it will last until it needs to be replaced but so far mine has lasted for two weeks and I only shook it once.

And of course, here's a picture:


This project was adapted from the recipe HERE.

Wednesday, May 16, 2012

Mother's Day

So every year I try to do at least a few homemade gifts for some holidays.  This year I got crafty for mother's day.  This is the second year in a row to get crafty on Mother's Day.  I will post some pictures of last year's gifts at the end of this post.  For now I will explain this year's craftiness.  I've never been the artist of the family. My sister got that talent.  Unless it is the art of music, I'm lost.  But I've been trying to change that a little bit when I can.  Part of the reason for this is that I don't like to spend money.  Yes, I'm a tight wad.  Just ask my husband.  This year I saw some yarn wreaths (on Pinterest of course), but most people were selling them, not telling you how to make them.  So I figured it out myself.  Here is what I did:

At first I was looking for foam wreaths at my local Hobby Lobby.  However, they are in the middle of a remodel so it was slim pickin's.  The only foam wreath I found was a circle but it had squared edges.  Well I didn't want corners on my wreaths so I found some straw wreaths.  With a few adjustments to my plans, they worked quite well.

Here is a picture of what I started with:

I bought two, one for each mom.  I used yarn I had laying around.  I used to do plastic canvas so I have tons of yarn laying around.  I just tied one end to the wreath and started wrapping.

Like so:

I wrapped in one continuous wrap although I'm sure you could do it in small pieces too.  Add some ribbon, some cheap fake flowers and some ribbon (using hot glue when needed) and voila:


I was pretty proud of myself.  I know these have been done, but none of this just comes to me easily.

Last years gifts were tote bags with L's hand and foot prints along with some monkey stencils.  We've called L a monkey since her first ultrasound where she was always flipping and moving.  There were three totes:  L's Mama, L's Nana, L's Grandma.


I also made these little card boxes.  I printed her picture on card stock and folded them into a box.